Setting up a WordPress Website on a Windows Cloud Server
After purchasing a Microud cloud server, are you unsure about how to set up the environment to run a WordPress website? Here, we have created a beginner-friendly tutorial that even those with no technical background can use to set up their own cloud server! Let's get started on building your WordPress website now!
Environment Setup
Setting up the environment is like decorating a house; when using Microud cloud hosting, you won't find an excess of bundled packages, giving you the freedom to create the space you desire with greater flexibility! If you haven't purchased a server yet, please click the link below. You can freely choose the server that suitsyour needs.
Linux System
Here are the sample server specifications for your reference. We've chosen the commonly used Windows system, specifically the Server 2019 DataCenter (Traditional Chinese) version, for the demonstration. If you prefer a Linux system, don't worry – you can find a comprehensive tutorial in the following extended reading.
Downloading Required Software
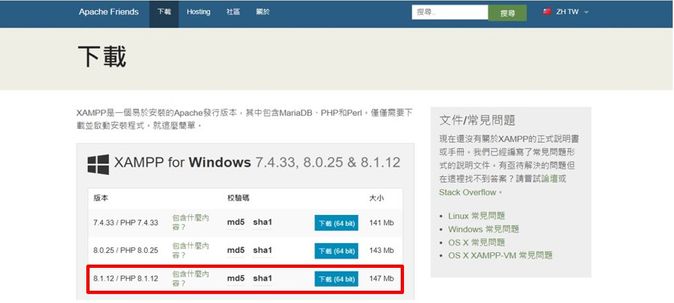
Xampp Download
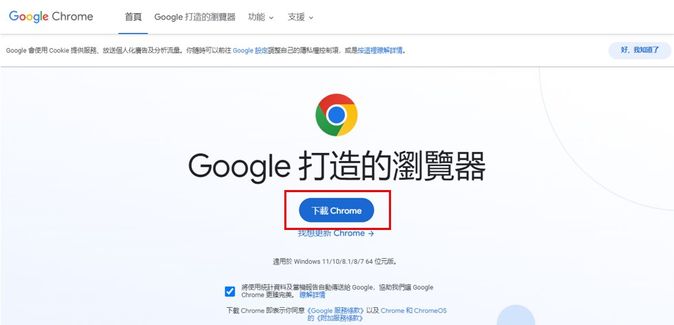
Chrome Download
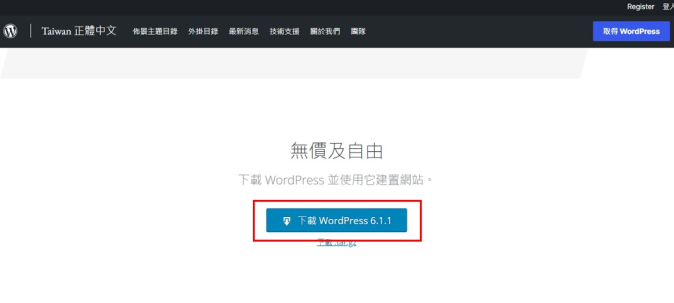
WordPress Download
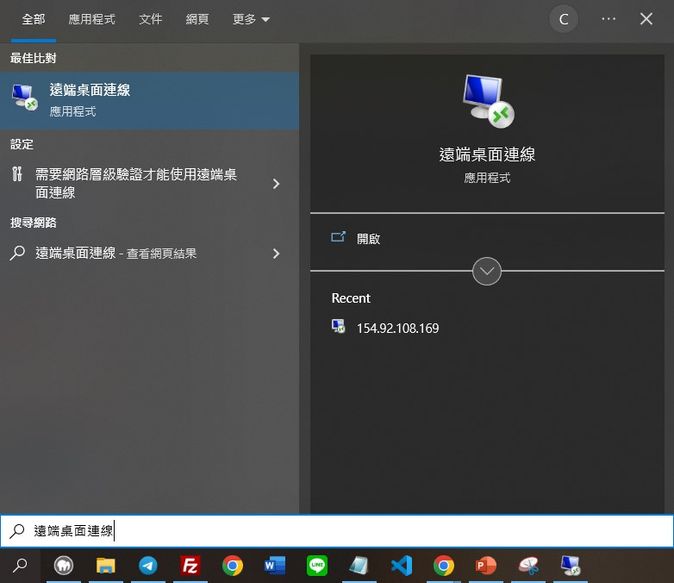
Configuring Remote Connection
Search Remote Desktop Connection in the magnifying glass icon at the bottom left corner of your computer.
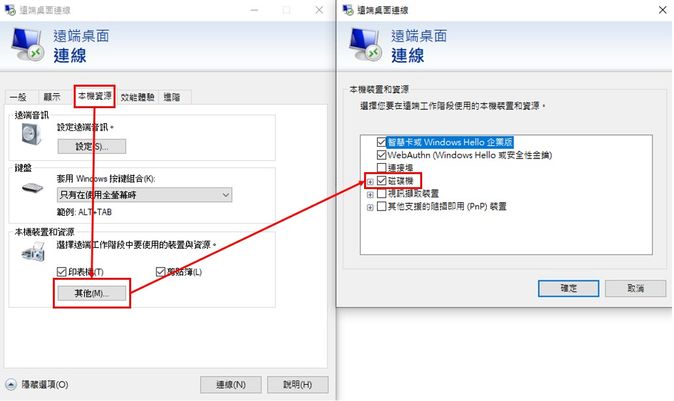
Enter the platform's IP address

Configure file sharing.
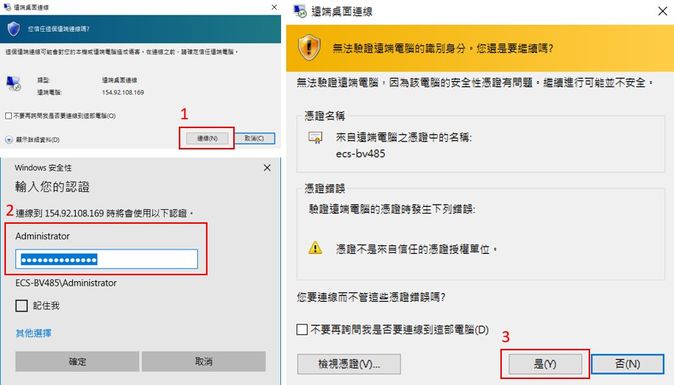
After connecting, enter the password to log in.
(The following steps will continue to be performed on the remote desktop.)
XAMPP Installation Process
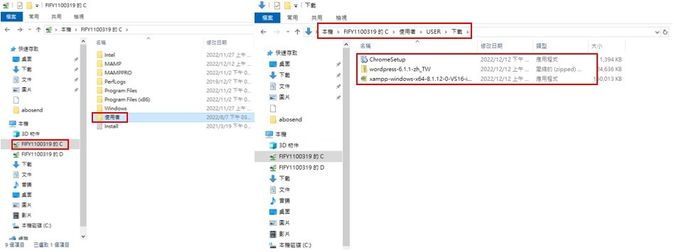
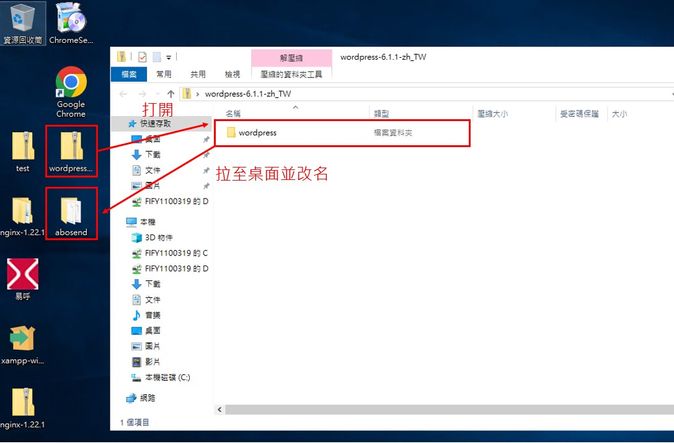
Open the remote host's folder, and drag the three files you just downloaded to the desktop.
First, run the XAMPP file.
- Once it's open, there's no need to make any other changes or modifications; just keep clicking 'Next.'
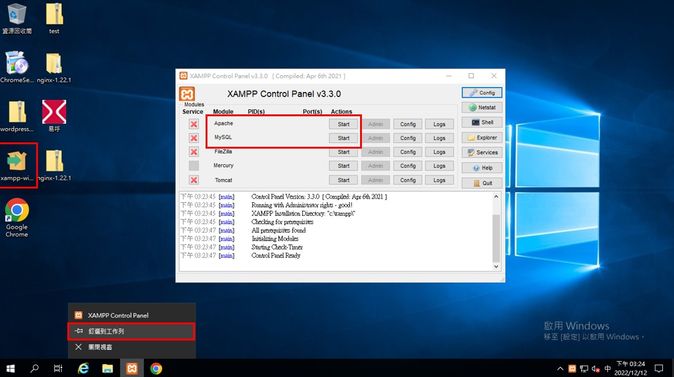
- After it's open, make sure to right-click and pin it to the taskbar.
- Click on the first one (Apache) and the second one (MySQL) to start them.
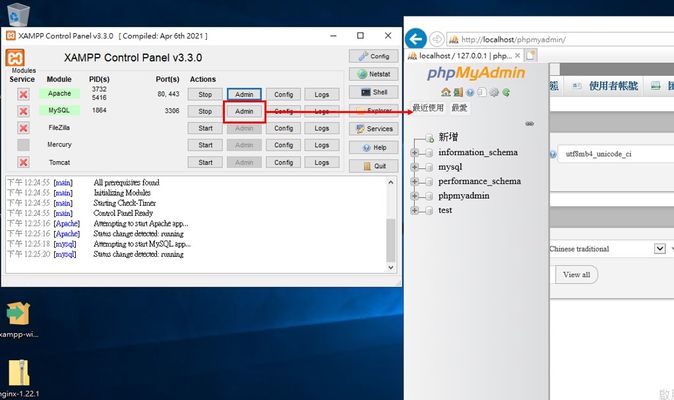
Click on 'admin' for MySQL, and you will see the database interface on the right.
Next, run the Chrome file on the desktop.
- Once it's open, there's no need to make any other changes or modifications; just keep clicking 'Next.'
- After it's open, make sure to right-click and pin it to the taskbar.
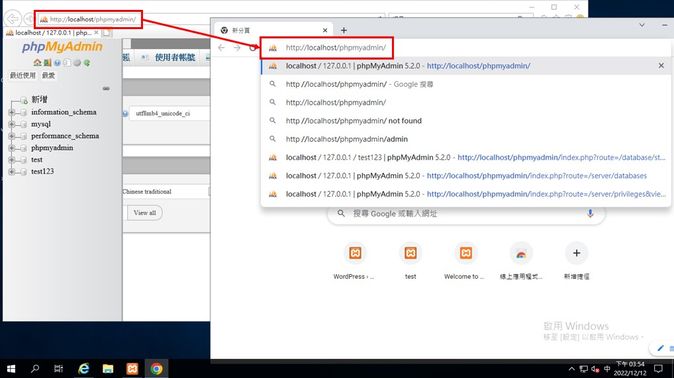
Use the Chrome browser to open the database you just started.
Database Configuration
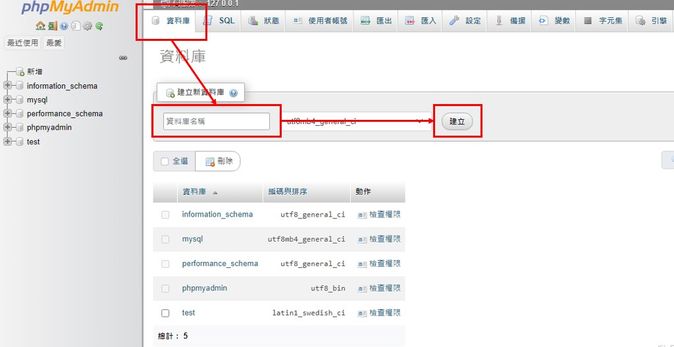
Create a database with the desired name. Keep it simple (e.g., 'test123').
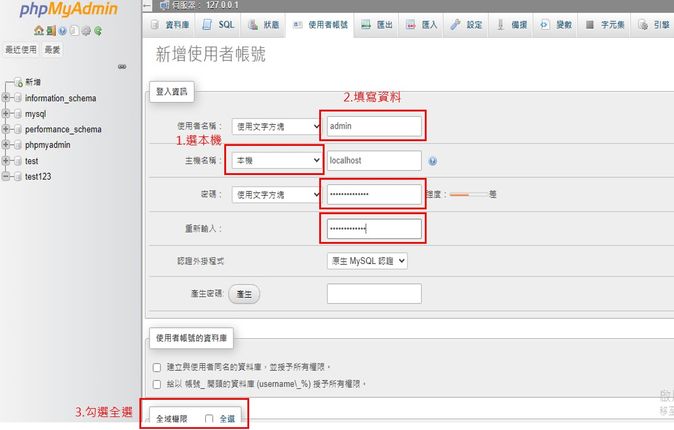
Click on 'phpMyAdmin' in the upper left corner, and then click on 'User accounts'.
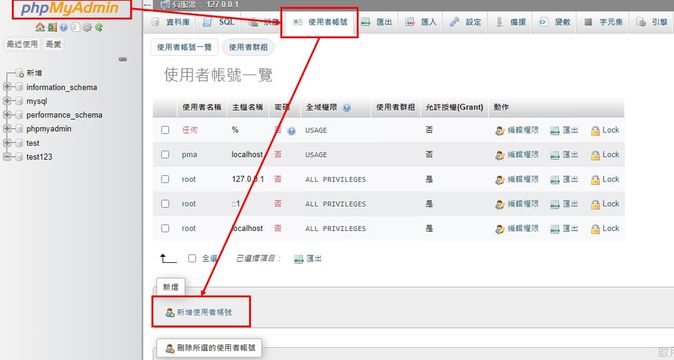
Fill in the information and make sure to check 'Check All' at the bottom. After filling out the details, scroll down and click 'Execute'.
WordPress Installation Process
Open the WordPress compressed file, drag the files to the desktop, and rename them.
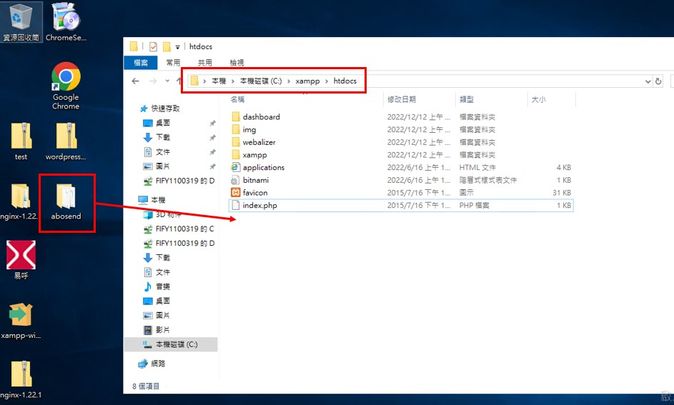
Open the folder C:\xampp\htdocsand drag the renamed files into it.
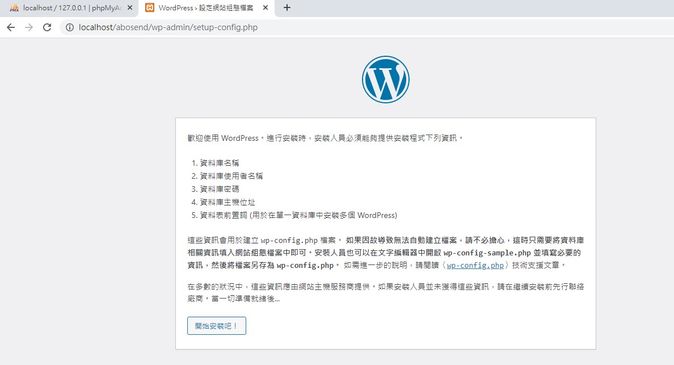
Open the Chrome browser and enter the following URL:http://localhost/abosend(replace 'abosend' with the name you used earlier for your files).
Fill in the information and then click 'Submit'.

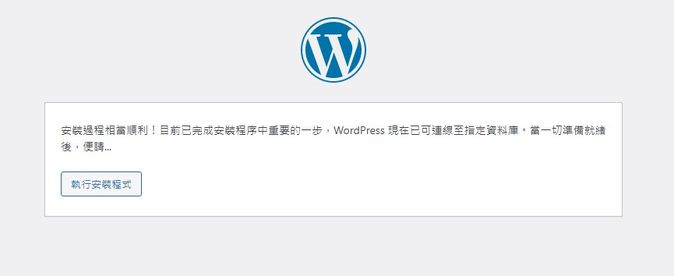
Continue with the installation process.
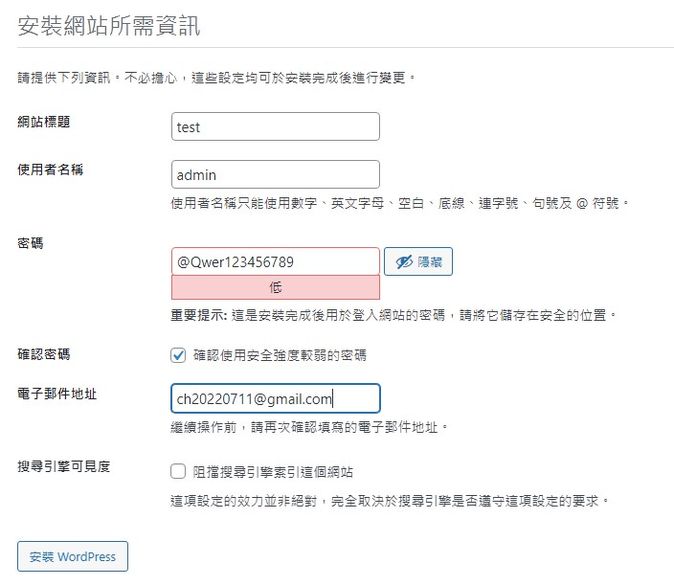
Fill in the information and then click 'Install WordPress'.
Click 'Log In'.

Use the username and password as per step 18.
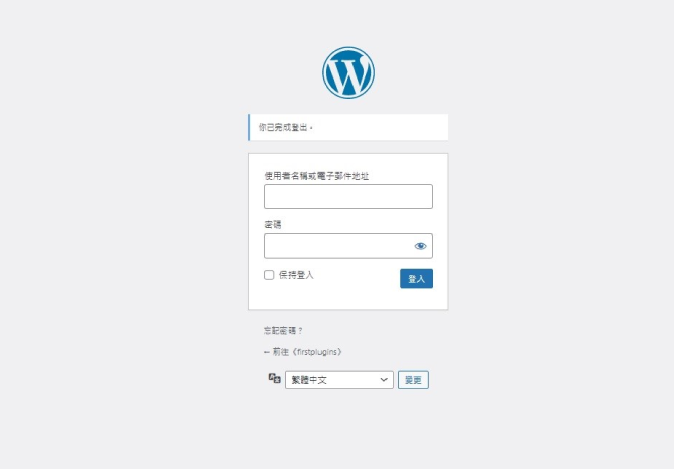
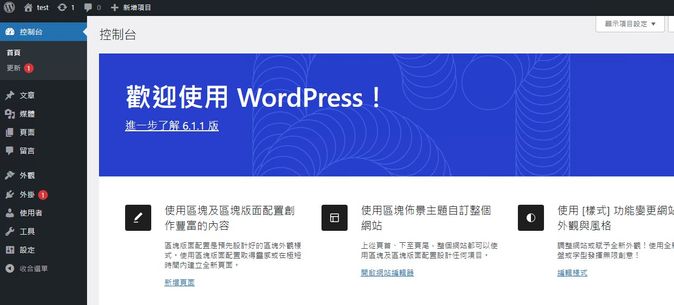
Installation completed.